The power of diaphragmatic breathing in yoga
How conscious breathing can deepen your practice and relax your body
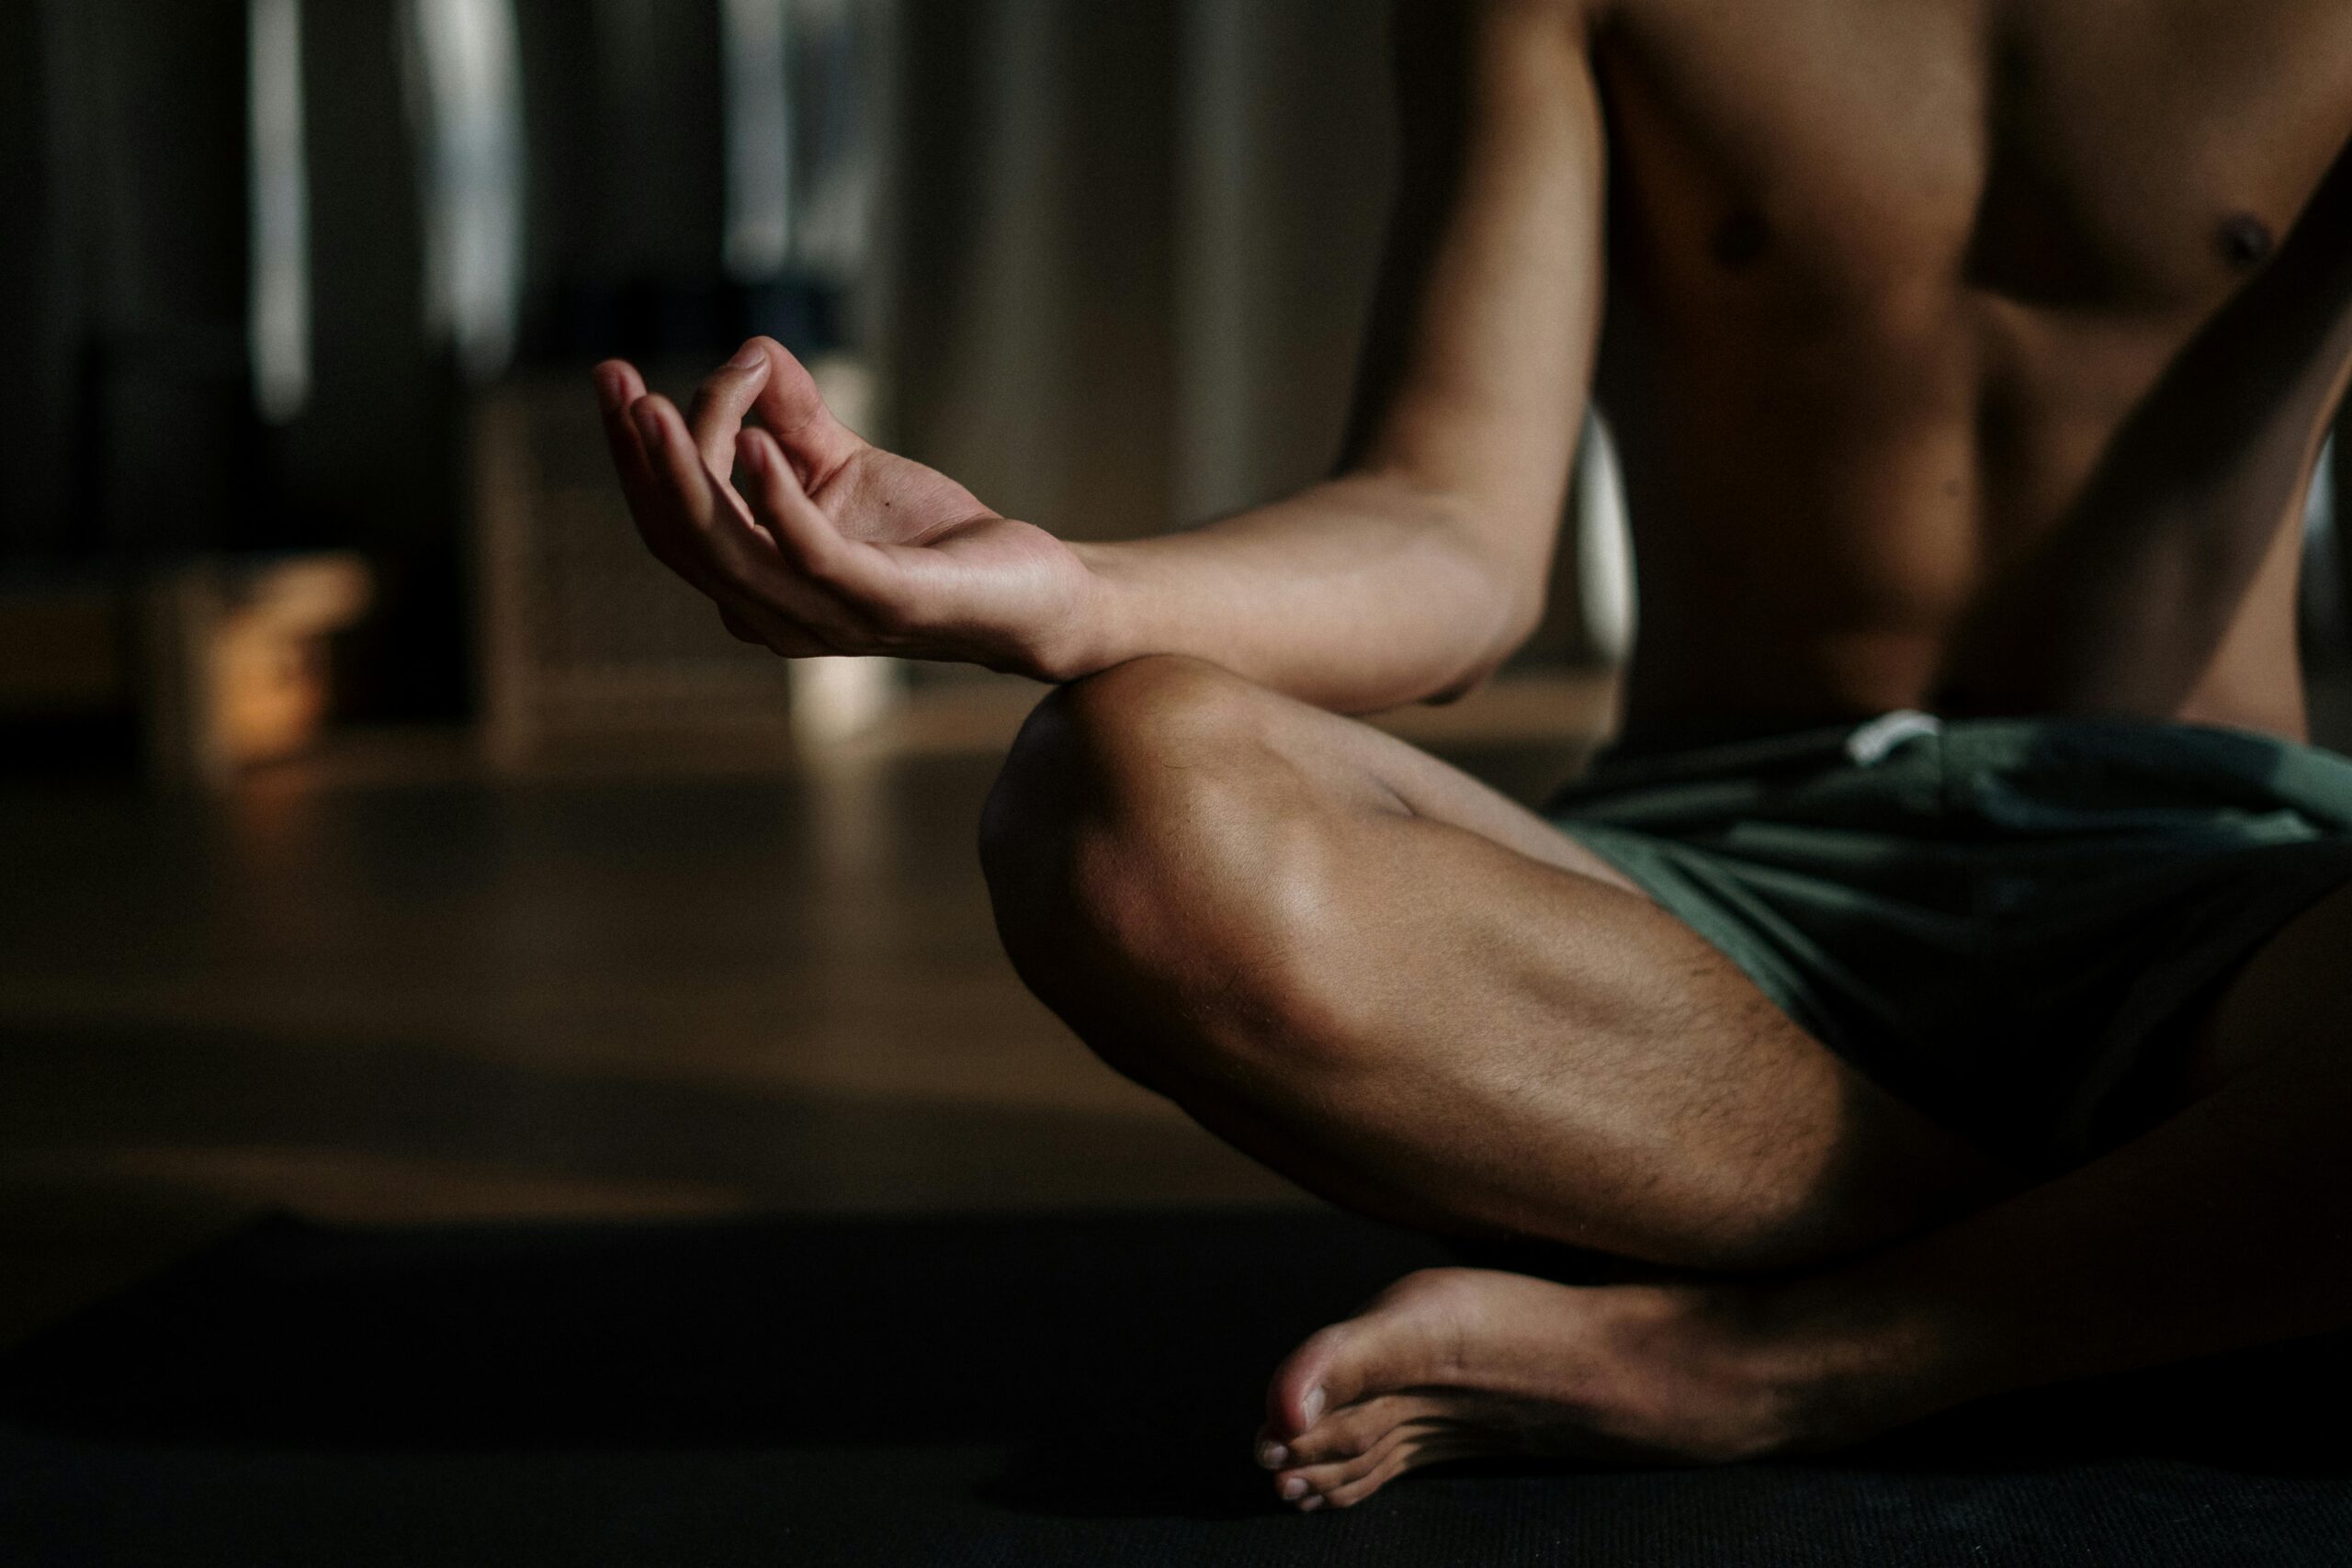
Breathing plays a central role in yoga practice. It connects body and mind, directs our attention inwards and, if used correctly, can significantly increase the mobility of the entire body. To this end, performing the Diaphragmatic breathing an important tool. In this article, I will show you how you can consciously use diaphragmatic breathing in yoga and practise it in various positions.
What is diaphragmatic breathing?
Diaphragmatic breathing uses our most important breathing muscle - the diaphragm - to consciously direct the breath into the lower part of the chest. Instead of shallow chest breathing or pure abdominal breathing, which is often preferred in yoga, you breathe deeply into the rib area. This causes the lower ribs to expand, especially laterally, and contract again as you exhale. Meanwhile, as you inhale, the diaphragm lowers together with the pelvic floor and lifts back towards the ribcage as you exhale. This results in an expansion of the entire upper body and pelvis during inhalation and a gentle contraction with slight activation of the lateral abdominal muscles during exhalation. As a result, diaphragmatic breathing has a positive influence on our mobility and, last but not least, on our slim line through the gentle training of the abdominal muscles.
Why is pure abdominal breathing not a good breathing technique in everyday life?
In many yoga classes, it is emphasized that we should breathe into our belly. This can help to calm the nervous system and certainly has a place in yoga classes. However, the lungs are located in the ribcage and our main breathing muscle, the diaphragm, is located in the area of the lower ribs, i.e. also still in the ribcage.
Pure abdominal breathing therefore does not make sufficient use of our full breathing capacity and can contribute to increasing this, especially in people with a hollow back.
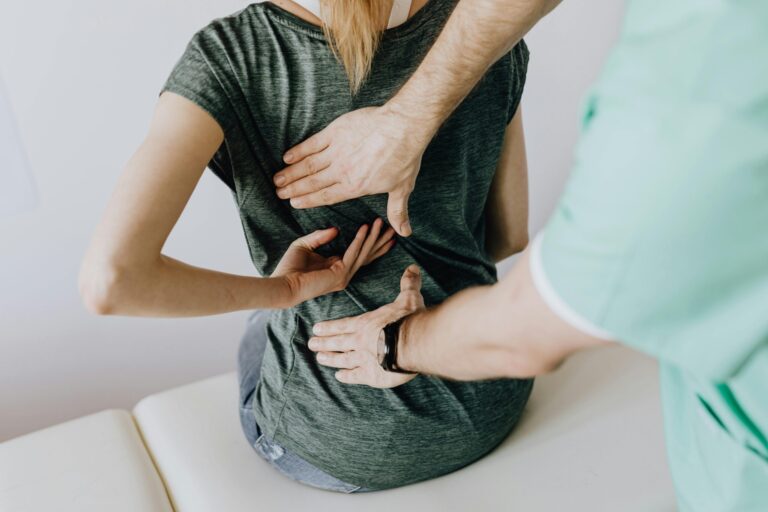
Those who predominantly practise abdominal breathing (or even very shallow chest breathing) in yoga and in everyday life often find it difficult to get the ribs moving during diaphragmatic breathing, as there is too much tension in the intercostal area (the area between the ribs). This is precisely why simply changing your breathing from abdominal to diaphragmatic breathing during a yoga class and/or in everyday life can bring about a huge change in the body. In particular, neck, jaw, shoulder and back pain can be reduced or prevented.
Practicing diaphragmatic breathing
I have recorded a 90-minute yoga video for you in which the focus is on diaphragmatic breathing. You can find it here:
Alternatively, you can find some exercises below that you can do and in which you can feel your diaphragmatic breathing particularly well:
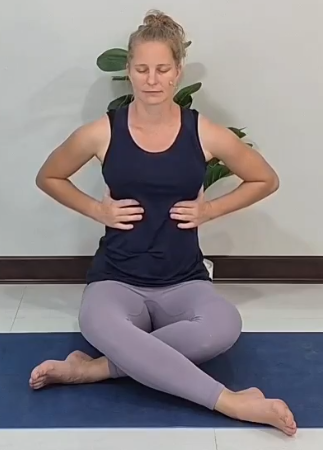
1. arrive: Observe your breath
- Sit in a comfortable position, e.g. cross-legged - preferably on a cushion or a block.
- Roll your shoulders back and down
- Close your eyes and take a moment to simply observe:
How does your breath flow? How does the air flow feel in your nostrils? Where does your body move with your breathing? - Then consciously begin to lateral ribs to breathe. To do this, place your hands on your lower ribs and feel how they expand with each inhalation - to the side, forwards, perhaps even backwards. With each exhalation, the ribs contract again.
- Stay here for 10-15 deep breaths
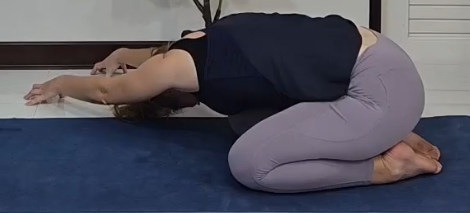
2. adho mukha virasana with lateral stretch
- Sit in the child's pose (Adho Mukha Virasana): knees open, big toes together, upper body leaning forward.
- Breathe consciously into your diaphragm and feel how your ribs press against your thighs. If you don't feel this connection, bring your knees a little closer together.
- Move your arms to your left side and rest your stomach on your left thigh.
- Breathe specifically into the stretched right flank and remain here for 6-8 deep breaths.
- If you want to increase the intensity, use your fingertips.
- Then switch sides: move your arms to the right and consciously breathe into your left flank. This will help you to train the mobility and awareness of your ribs on both sides.
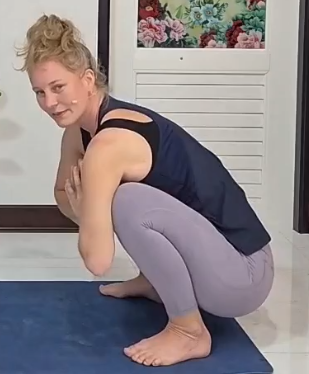
3. deep breathing in Malasana
- Come into a deep squat (Malasana).
- If necessary, lift your heels or use blocks for support.
- Roll your shoulders back, close your eyes and breathe into your lower chest. Feel how the diaphragm area presses gently against your thighs.
- Try to direct the expansion of your chest in all directions, i.e. not only frontally and laterally, but also backwards into the back.
- Stay here for 6-8 deep breaths
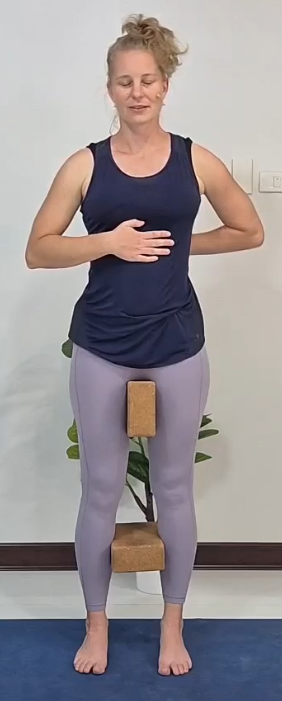
4. tadasana with diaphragmatic breathing
- Take two blocks. Clamp one between your thighs and the other between your lower legs, where the muscles are most pronounced. This will activate your leg muscles.
- Straighten your upper body, pull yourself up long and let your shoulders fall backwards.
- Place one hand on the lower front ribs and the other (with the back of the hand) on the middle of the back.
- Feel the expansion as you inhale Front and rear. This breathing is not easy - feel free to work with your imagination.
- If you like, tilt your pelvis back slightly, round gently and feel whether you can now bring more breath into your back.
- Remain here for 6-8 breaths.
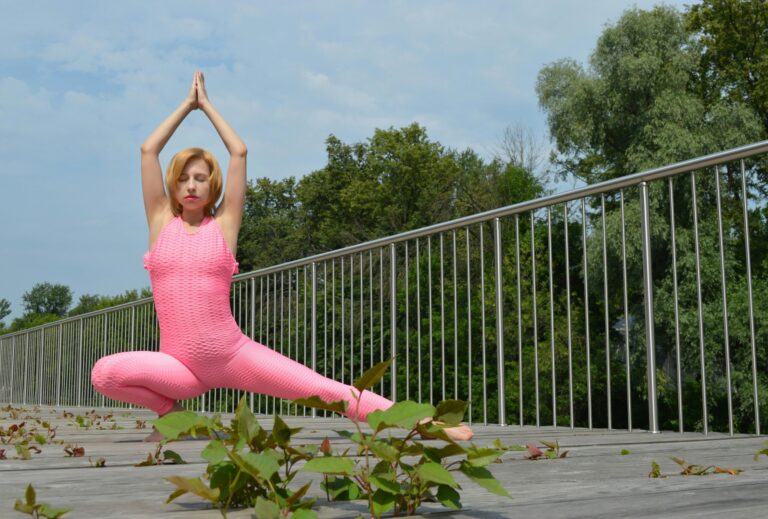
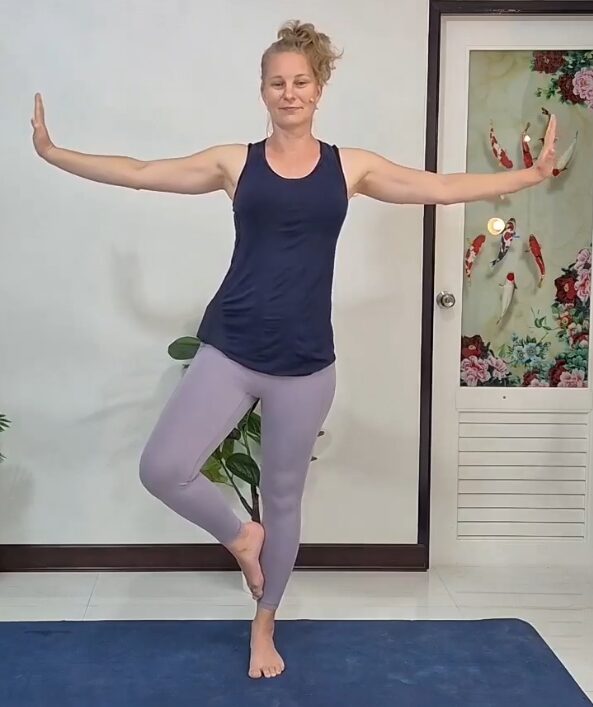
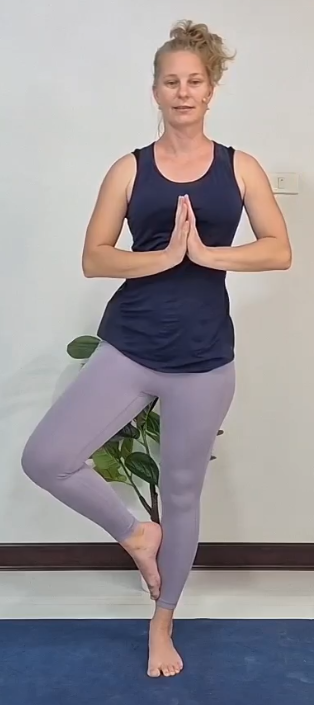
5. balance with breathing: the tree (Vrikshasana)
- Bring your hands together in front of your heart
- Shift your weight onto your right leg
- Come into a variation of the tree: foot on the ground, on the shin or higher up - whatever you like.
- Concentrate on your breathing and then start with a flowing movement:
Inhale: open your arms wide to the side, palms facing outwards
Exhalation: Hands back into Namaskara Mudra - Synchronize your breath with the movement.
- Stay here for 6-8 breaths and then change sides.
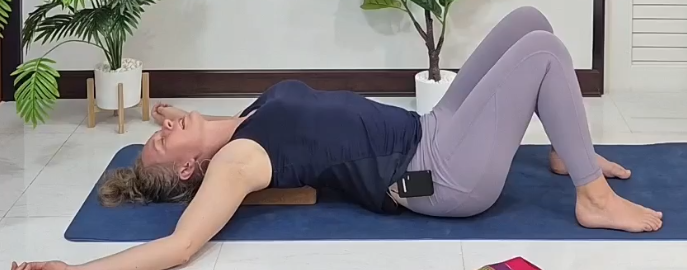
6. backbend lying down with block or cushion
- Lie on your back
- Place a block or pillow under the upper back, just below the cervical spine.
- Make sure your head is lying comfortably - use a folded blanket if necessary.
- Keep your arms spread out at 90° or raise them above your head.
- Find your deep diaphragmatic breathing. Can you feel differences between the left and right side? Feel free to bring your hands to your ribs for more feedback.
- If you like, also bring your breathing towards your collarbones - your chest rises and your shoulders remain relaxed.
- For the final intensification, stretch your arms and legs, optionally cross your hands over your head and breathe deeply.
- Remain in this position for 6-8 breaths

Conclusion: Diaphragmatic breathing as the key to mobility
Conscious breathing into the diaphragm and rib area not only helps you to relax physically - it is a direct path to greater mobility, body awareness, inner peace and a deeper connection with yourself. Integrate these techniques regularly into your yoga practice to refine them further with every breath.
Tip: If you are unsure whether you are breathing correctly - place your hands on your ribs. Your body gives you the most honest feedback through touch.